Tagging with TreeTagger
Hannah Kermes
In this tutorial we will learn how to part-of-speech-tag a text using the GUI of TreeTagger.
Tagging is the task of labeling each word in a sequence of words with the appropriate part-of-speech (pos). The labels asigned are specified in a so-called tagset, a set of part-of-speech tags. The size and choice of the tagset can vary greatly. Usually the size is between 50 and 200 tags.
TreeTagger:
- tool for annotating text with part-of-speech and lemma information
- developed by Helmut Schmid in the TC project at the Institut für Maschinelle Sprachverarbeitung (IMS) at the University of Stuttgart
- supported languages include German, English, French, Italian, Dutch, Spanish, Bulgarian, Russian, Portuguese, Galician, Chinese, Swahili, Slovak, Latin, Estonian, Polish and old French
- adaptable to other languages if a lexicon and a manually tagged training corpus are available
- Graphical User Interface for the Windows version of the TreeTagger (developed by Ciarán Ó Duibhín) - works also on Linux with Wine installed
- TreeTagger with GUI and parameter files for English and German: zip
Tagsets used by the trained parameter files of TreeTagger:
- English: UPenn tagset
- German: Stuttgart-Tübingen-Tagset (STTS)
How to get started
- download the zip-file with TreeTagger, GUI and parameter files for English, German and French
- unpack the zip-file on your computer or on a USB-stick
- it creates a directory
TreeTaggercontaining:- directories:
bin(program files),lib(parameter files) - files:
INSTALL.txt,README.txt
- directories:
- if you do not have a Perl interpreter installed you need to install one (normally this is the case)
Tag your first text with TreeTagger
- download the sample files and unpack them on your computer or USB-stick
- go to the directory
TreeTagger/bin - open the
TreeTagger GUIby double-clicking onwintreetagger.exe - this should open a pop-up window
- the instructions here will use the
Englishlanguage setting. If you preferGermanyou can click on the small German flag at the bottom right.
- the instructions here will use the
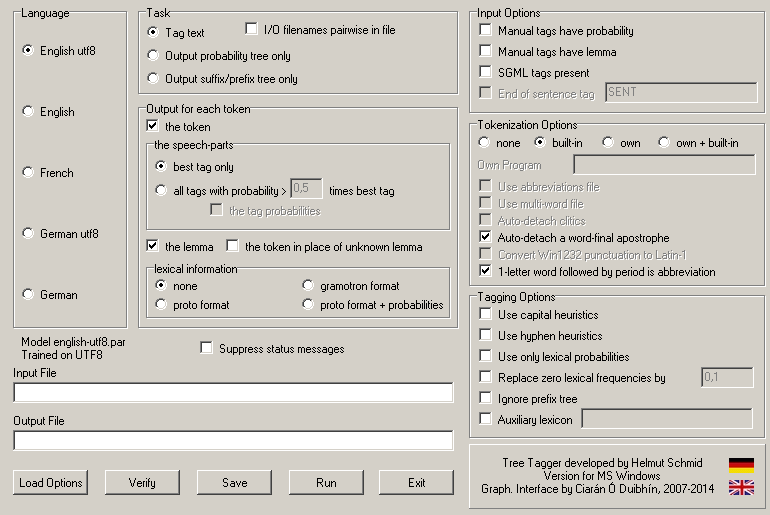
- the GUI gives access to all parameters of the TreeTagger grouped in:
Language,Task,Output for each token,Input Options,Tokenization Options,Tagging Options
- we will need to change the
Languageas the sample files are inLatin-1- choose the second
English - you will see that the
Modelinformation below theLanguage-box changes toModel english-par,Trained on Latin-1
- choose the second
- load a plain-text-file by clicking in the window below
Input File- a pop-up window for browsing your file system will open
- go to the directory were you unpacked the sample files and choose
grimm_sample.txt - click on
OpenorÖffnen
- set a name for the output file by clicking in the window below
Output File- a pop-up window for browsing your file system will open
- you will already be in the directory were you choose the input file from
- choose
grimm_sample.txtand append a.taggedso that the output file will begrimm_sample.txt.tagged - click on
SaveorSpeichern
- click on
Run - once the TreeTagger is finished, you will wee a small pop-up window reading
TreeTagger finished - click on
OK - the tagged file will not pop up, but it has been written to the directory you have chosen
The tagged file
- with the default settings, TreeTagger will have
tokenized, lemmatizedandpart-of-speach taggedyour text - the tagged file is now in a one-word-per-line format
- each line has three
TABseparated columnsword<TAB>lemma<TAB>pos